In the ever-evolving landscape of project management and productivity tools, ClickUp has emerged as a versatile and comprehensive platform. One of its standout features is ClickUp Time Tracking, a valuable tool for organizations and individuals seeking to optimize their time management efforts. In this blog post, we’ll explore ClickUp Time Tracking, how it works, and its benefits, and how you can track time in ClickUp!
Understanding ClickUp time tracking
ClickUp Time Tracking is a feature that empowers users to monitor and manage how they allocate their time within the ClickUp platform. It seamlessly integrates with ClickUp’s task management and project collaboration features, providing a holistic solution for effective time management.
Benefits of ClickUp time tracking
Improved productivity 🌟
ClickUp Time Tracker allows users to identify time sinks and distractions, enabling them to streamline their work processes and boost productivity.
Accurate billing 💰
For businesses that bill clients based on hours worked, ClickUp Time Tracking ensures precise and transparent billing, reducing disputes and errors.
Enhanced project management 🎢
Project managers can utilize time tracking data to allocate resources efficiently, ensuring tasks are completed on time and within budget.
Resource allocation 👥
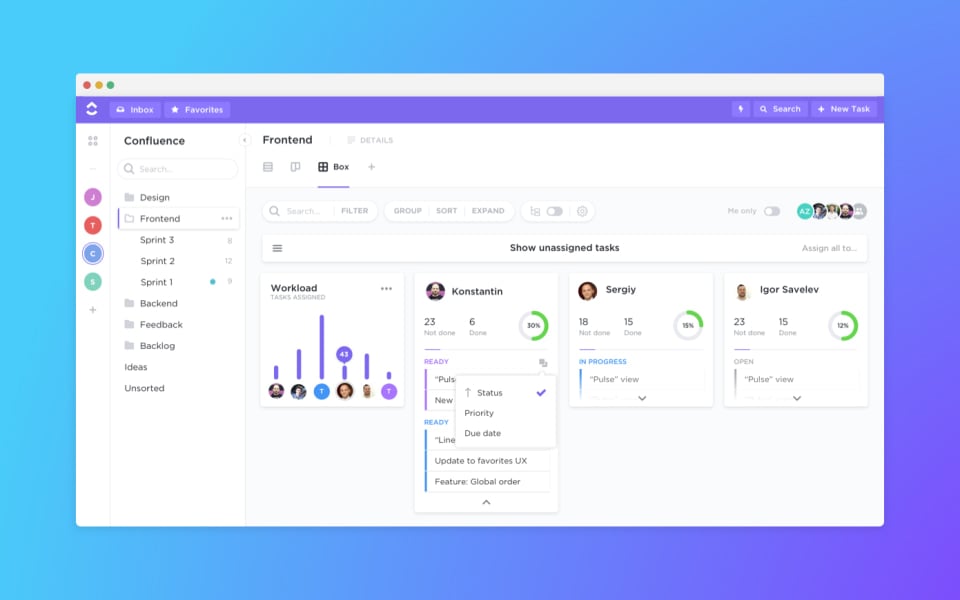
ClickUp’s time tracking reports enable organizations to allocate resources judiciously, ensuring that team members are neither overburdened nor underutilized.
Compliance and accountability 🛡️
Clickup timetracker enhances accountability by allowing organizations to monitor adherence to time-related policies and practices.
How does ClickUp time tracking work
Task-based tracking
ClickUp allows users to associate time entries with specific tasks or projects. This task-based approach ensures that time is accurately allocated to the corresponding work items.
Manual and automatic time entry
Users can manually enter their time or leverage ClickUp’s automatic tracking functionality. The latter captures time spent on tasks by monitoring task activity, making it a convenient option for those who prefer a hands-off approach.
ClickUp time tracking reports
ClickUp offers robust time tracking reports that provide insights into time distribution, project progress, and individual performance. These reports empower users to make informed decisions and optimize their workflows.
How to do ClickUp time tracking step-by-step?
Step 1: Log in to ClickUp
Start by logging in to your ClickUp account. If you don’t have an account, sign up for one.
Step 2: Navigate to the workspace
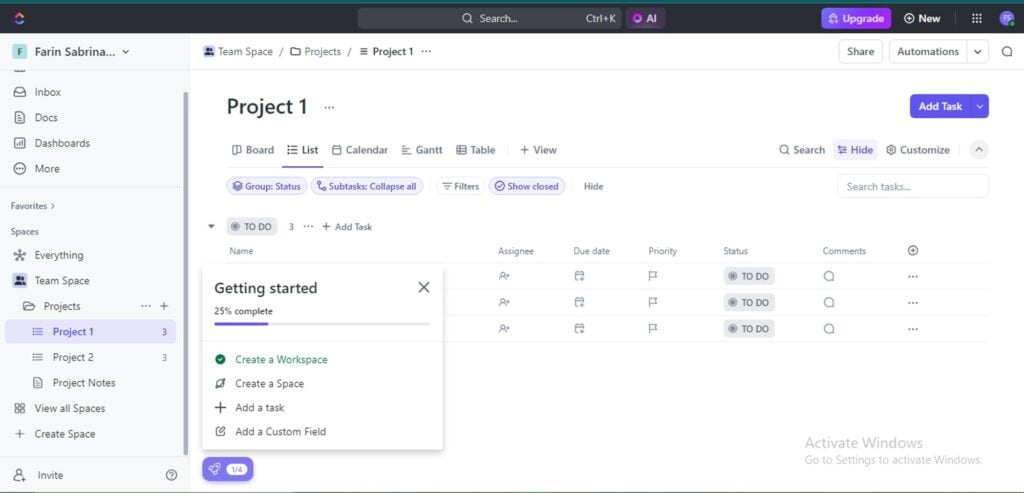
Choose the workspace or area where you want to track time.
Step 3: Create tasks or projects
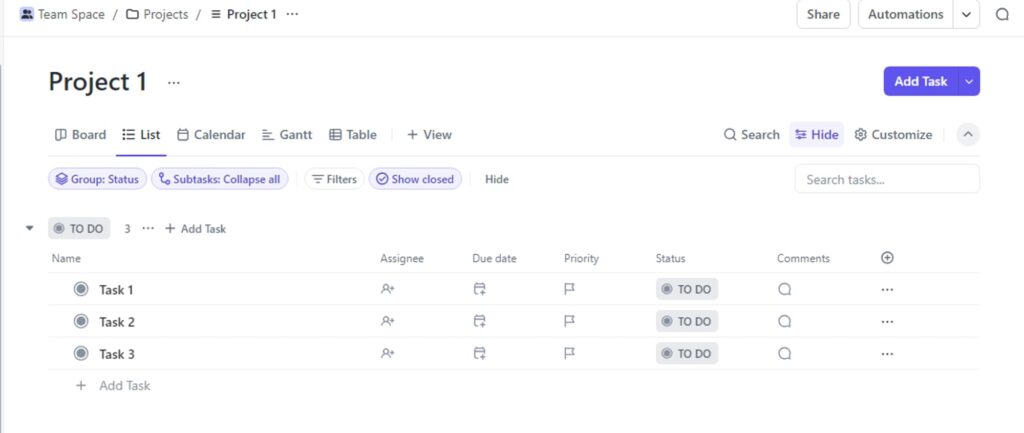
Before tracking time, create tasks or projects to categorize your work. Click on the “+ New Task” button to create a task or project and provide details such as task name, description, and assignees.
Step 4: Start the timer manually
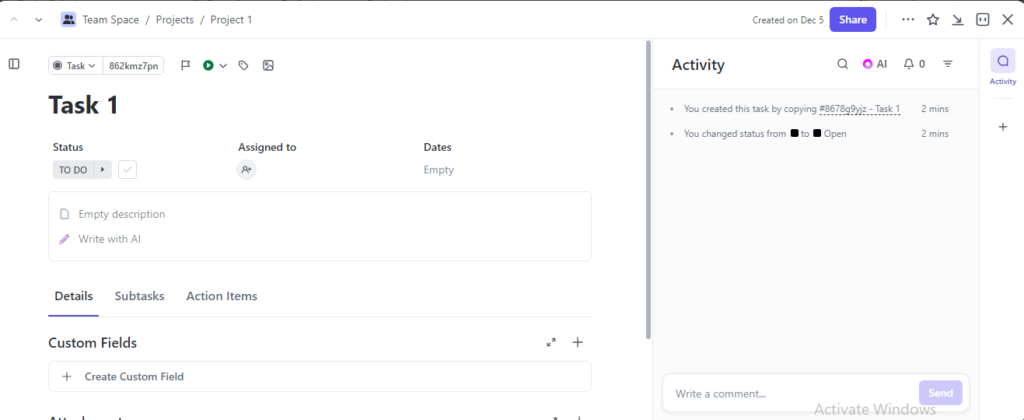
When you’re ready to begin working on a task, click on the task name. In the task details view, you’ll find a timer icon (usually a clock). Click on this icon to start the timer manually. This will track the time spent on that specific task.
Step 5: Use automatic time tracking
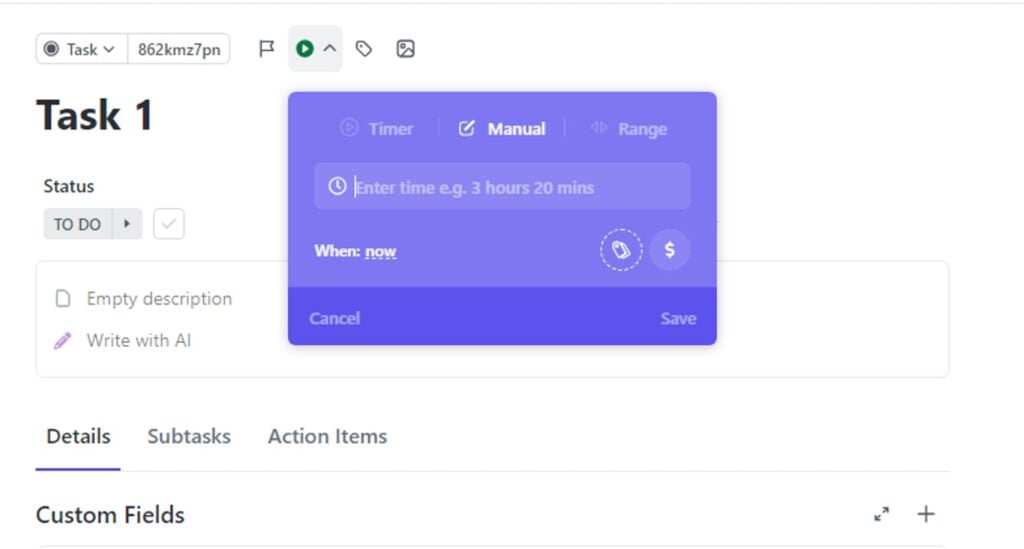
For a more hands-free approach, you can enable automatic time tracking in ClickUp. To do this, go to your ClickUp settings and find the time tracking section. Enable the automatic tracking feature, and ClickUp will record the time you spend on tasks in the background.
Step 6: Review time entries
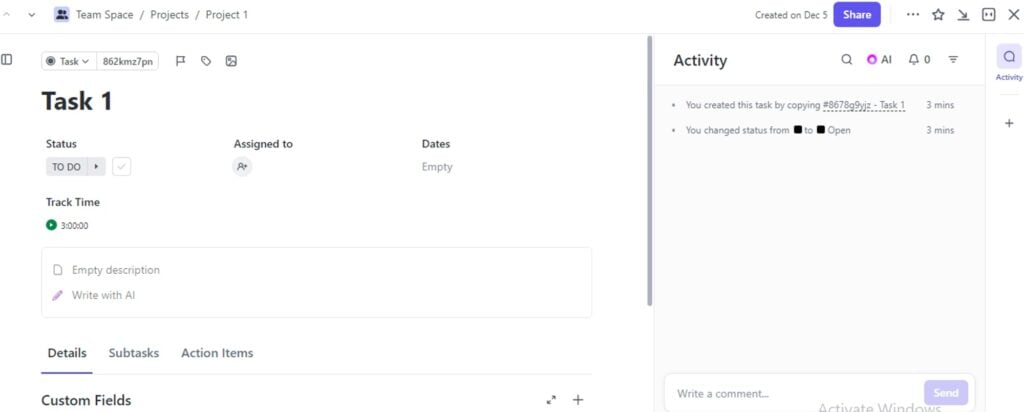
After completing a task or at any time you wish to review your time entries, navigate to the task and look for the time tracking section. Here, you can see the total time spent on the task and any manual adjustments you’ve made.
Step 7: Add notes and categorize time entries
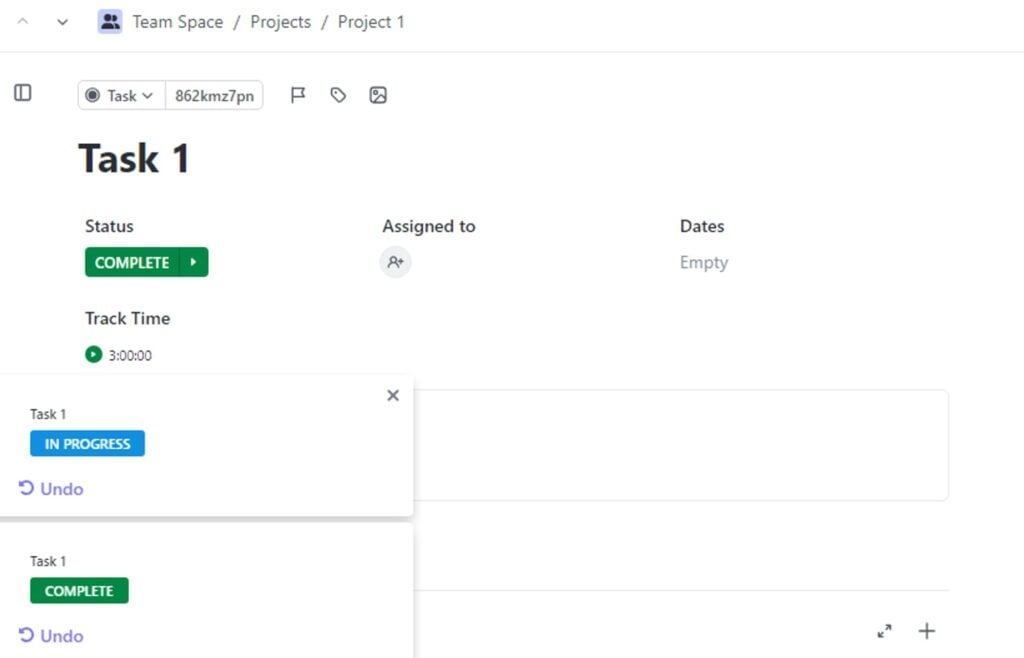
Enhance the details of your time entries by adding notes and categorizing them. This is especially useful for providing context to your time tracking data.
Step 8: Explore time tracking reports
ClickUp offers robust reporting features. To gain insights into your time usage, explore the various time tracking reports available. These reports can provide a comprehensive overview of how time is distributed across tasks and projects.
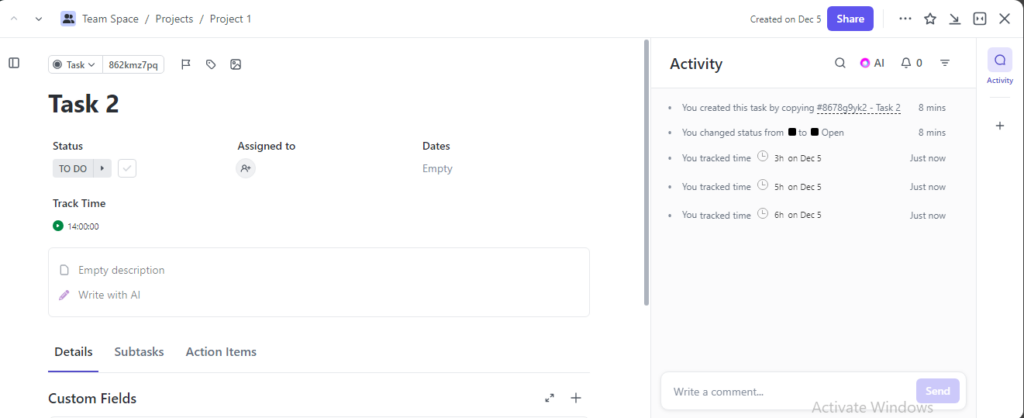
Step 9: Stop timer or edit entries
When you finish working on a task, remember to stop the timer manually if you started it that way. Additionally, if you need to make manual adjustments, you can edit time entries to ensure accuracy.
Step 10: Analyze and optimize
Regularly analyze your time tracking data to identify patterns and areas for improvement. Use the insights gained to optimize your workflow and enhance productivity.
Conclusion
ClickUp Time Tracking is a powerful tool that empowers users to master their time management efforts. Whether you’re a freelancer, project manager, or part of a larger organization, Click Up’s time tracking capabilities can help you optimize your productivity, billing accuracy, and resource allocation. So, embrace ClickUp Time Tracking today and unlock the full potential of your time management journey.
Since you read about Clickup time tracking, you can also look into JIRA time tracking to know more!
Frequently Asked Questions
Does ClickUp have time tracking?
Yes, ClickUp does have a robust Time Tracking feature built into its platform. This feature is available across different pricing tiers, making it accessible to a wide range of users, from freelancers to large enterprises.
How does ClickUp time tracking work?
ClickUp Time Tracking is a feature that empowers users to monitor and manage how they allocate their time within the ClickUp platform. It seamlessly integrates with ClickUp’s task management and project collaboration features, providing a holistic solution for effective time management.
Is there a time tracker in ClickUp?
ClickUp offers an integrated time tracker feature. When you track time on the mobile app, it syncs in real-time across all ClickUp instances, including your browser, desktop app, and mobile devices. For instance, if you initiate a time entry on the mobile app, you’ll find it active when you switch to your computer, ensuring seamless tracking across platforms.
How do you track time per task in ClickUp?
ClickUp allows users to associate time entries with specific tasks or projects. This task-based approach ensures that time is accurately allocated to the corresponding work items.
How is time displayed in ClickUp?
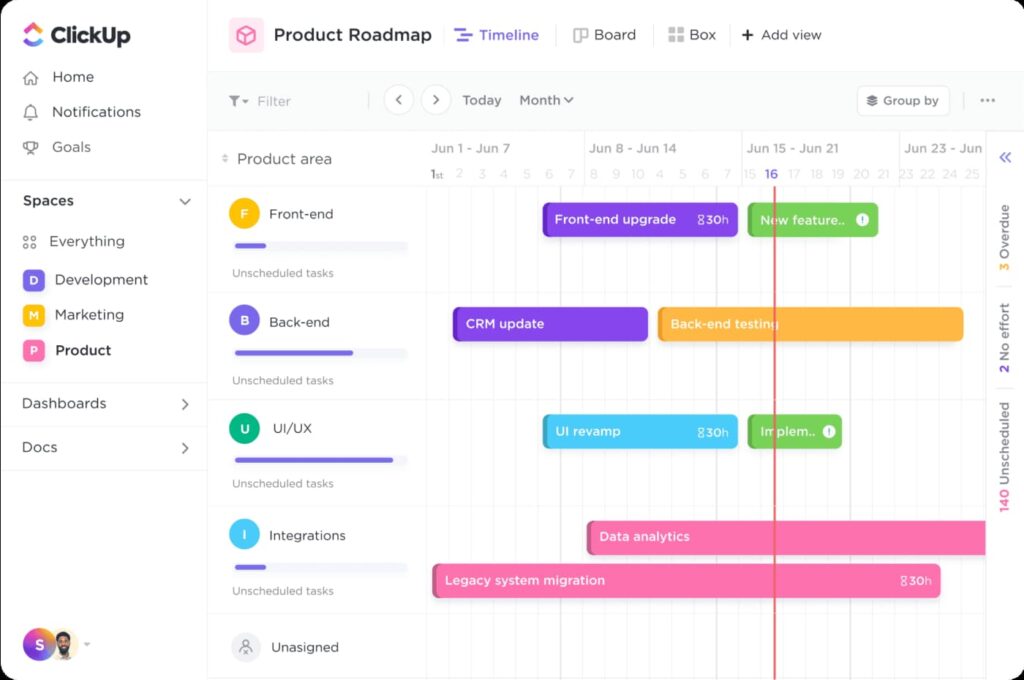
Time in ClickUp is displayed through a variety of user-friendly features. Users can utilize timers to track real-time progress, manually input time entries for accuracy, and generate detailed reports. These reports offer a comprehensive overview, allowing users to analyze time distribution across tasks and projects effectively.
How do I create a manual and automatic time tracker in ClickUp?
Users can manually enter their time or leverage ClickUp’s automatic tracking functionality. The latter captures time spent on tasks by monitoring task activity, making it a convenient option for those who prefer a hands-off approach.
How do I create time tracking dashboard reports in ClickUp?
ClickUp offers robust time tracking reports that provide insights into time distribution, project progress, and individual performance. These reports empower users to make informed decisions and optimize their workflows.
Is time tracking free on ClickUp?
You can record your work hours, establish project estimates, jot down essential notes, and access detailed time reports from any location. And yes, it’s completely free and no credit card is required.
Can time be tracked on ClickUp?
Absolutely! ClickUp provides comprehensive time tracking features, allowing users to monitor and manage the time spent on tasks with precision. Whether through manual input or automated timers, ClickUp offers versatile options for efficient time tracking.
Does ClickUp support the creation and management of timesheets?
Yes, ClickUp goes beyond basic time tracking. It empowers users with a robust system for creating and managing timesheets. This feature enables businesses to maintain detailed records of worked hours, enhancing transparency, and facilitating accurate billing and project management.


