In a world where time is of the essence, efficiency, and productivity become paramount. Whether you’re a project manager, a freelancer, or a team leader, understanding how time is allocated across tasks can significantly impact your workflow. And to help you with effective time tracking, Monday time tracking is a great tool. In this article, we have provided a detailed section on how you can utilize Monday time tracking to the maximum and acquire its benefits. Read on to learn more about time tracking at monday.com!
How to add the time tracking column
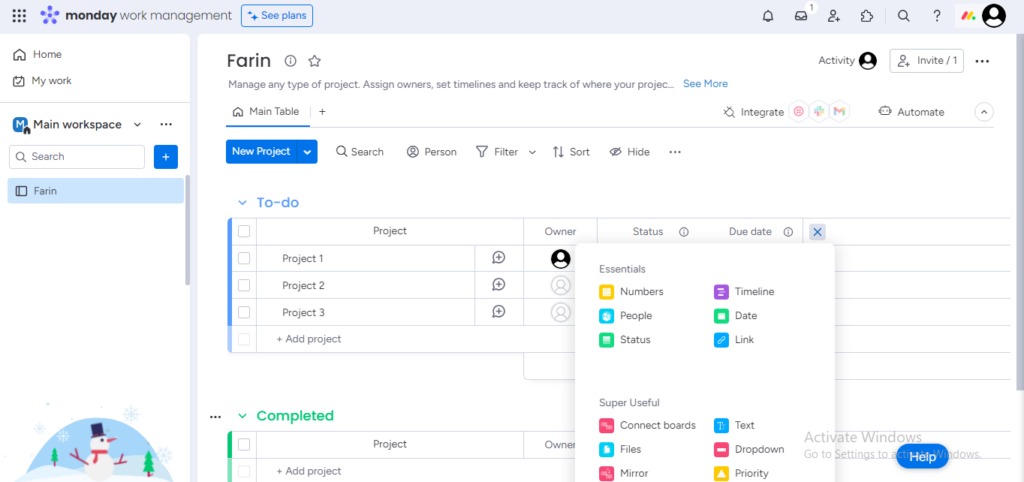
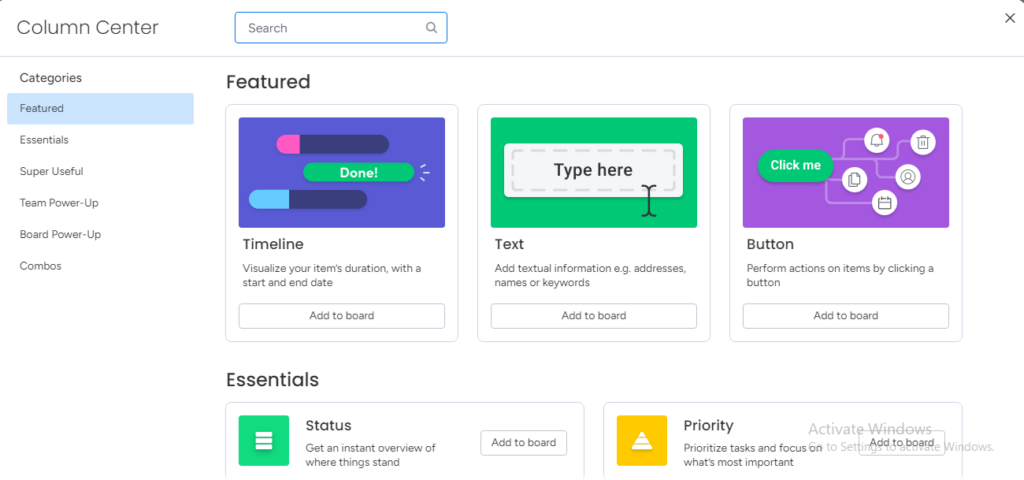
Before we start Monday’s time tracking, let’s have a look at how you can add the time tracking column! Getting started is a breeze. Simply click on the + icon in the top right corner of your board and select “More columns.” Once in the column center, choose “Time Tracking” from the options available.
Utilizing the time tracking column
Step 1: To begin tracking a task, hit play to start the timer, and pause it whenever necessary. The timer’s activity is conveniently recorded in the Activity Log, providing a comprehensive history of each item’s time tracking.
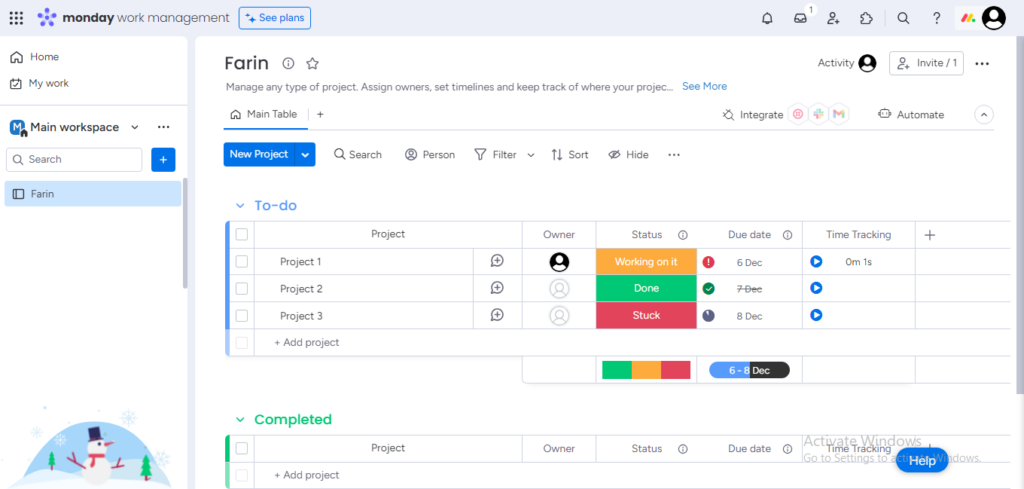
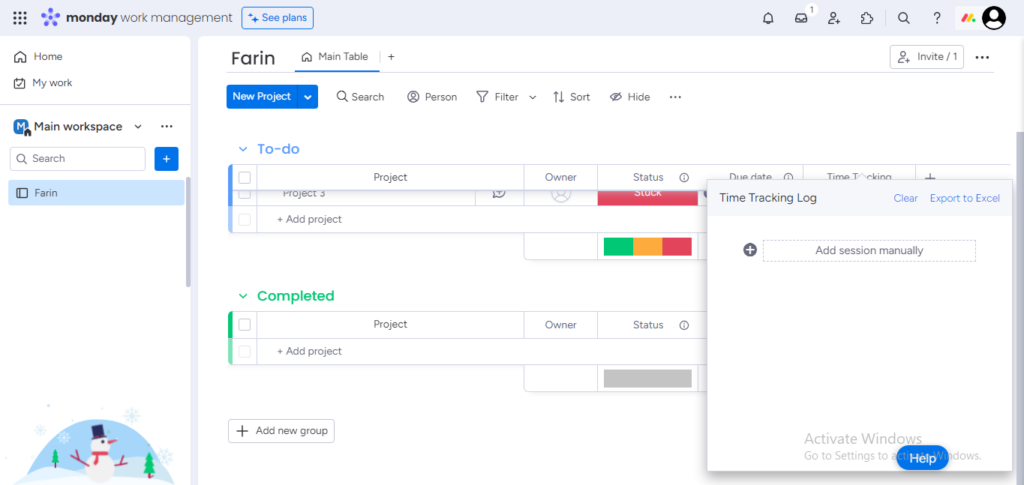
Step 2: For more flexibility, manually add time ranges by clicking into a cell within the Time Tracking Column and selecting ‘Add session manually.’ Keep in mind that future values cannot be entered.
Step 3: Tailor the display settings to your preference. By default, the Time Tracking Column shows time tracked in seconds. However, you can switch to minutes by unchecking the “Show seconds” box in the Column settings.
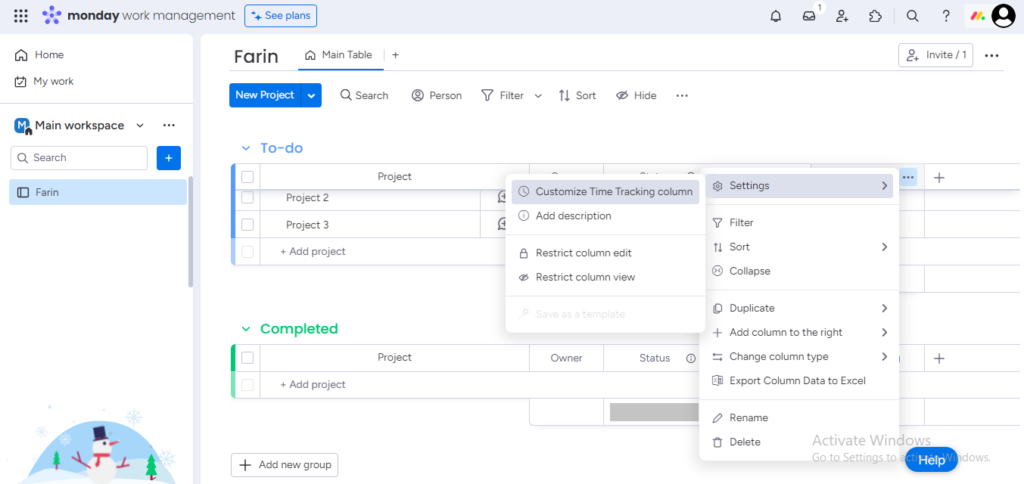
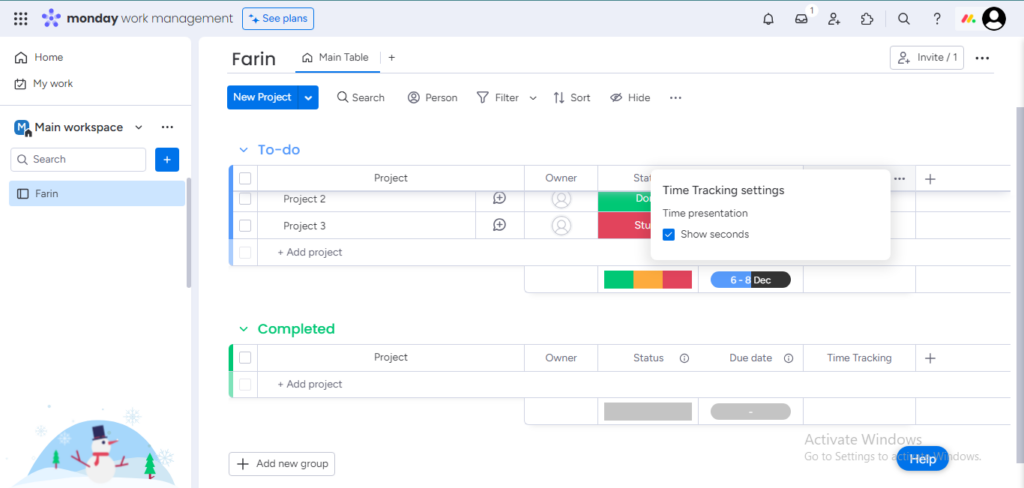
Step 4: Clicking into a specific time tracking cell opens a detailed history and log. Entries can be manually edited by clicking on the time, turning edited values red. Hover over an entry to reveal an option to delete it.
Step 5: For tasks with subcomponents, extend the functionality to Subitems by adding the Time Tracking Column. Aggregate the time tracked in Subitems directly into the parent item for a summarized overview.
Step 6: Effortlessly export the entire Time Tracking Column to Excel for comprehensive reporting. Choose to export the entire column or individual items, providing flexibility in data analysis.
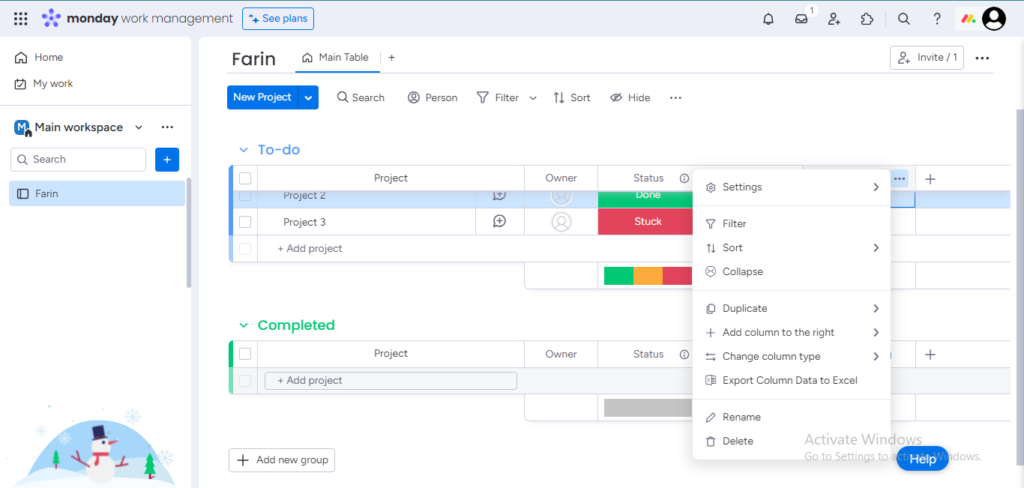
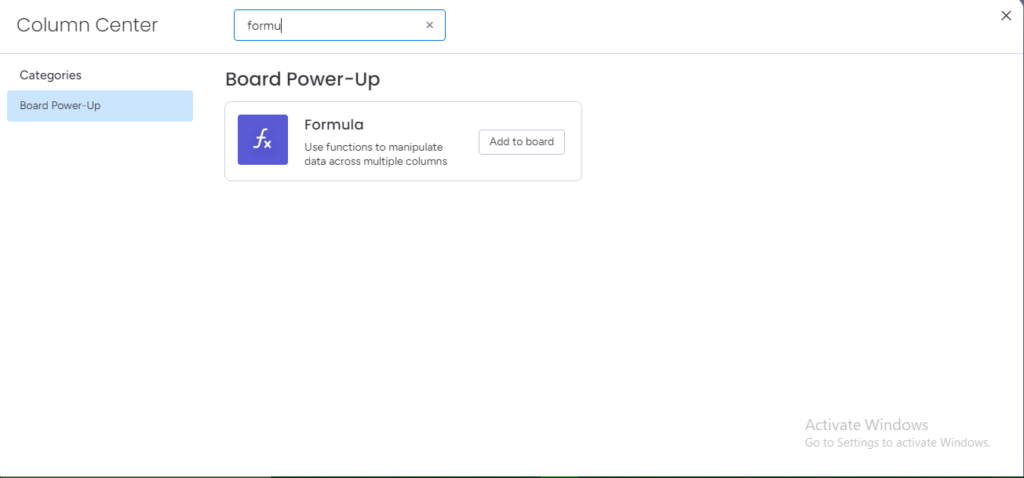
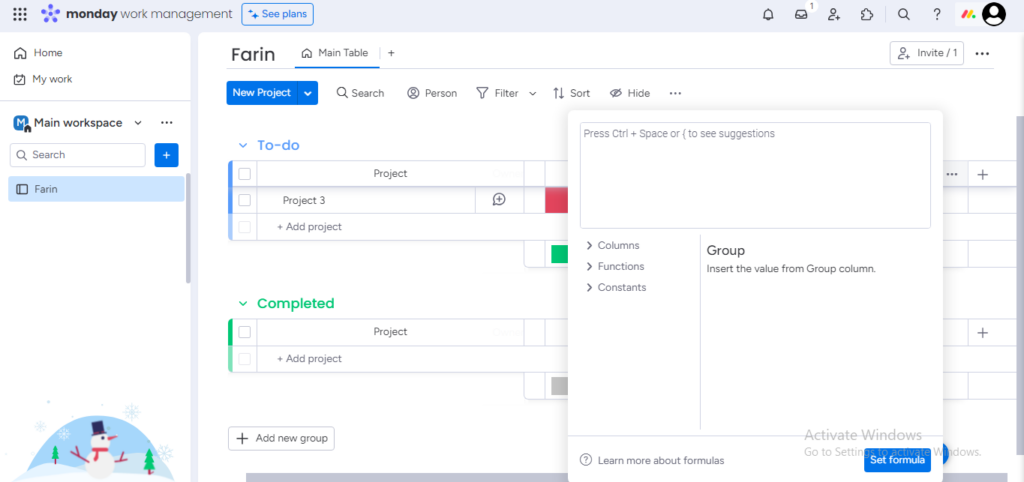
Step 7: While the Time Tracking Column doesn’t automatically sum, leverage the Formula Column to create a total sum of hours or minutes spent across all items. This feature proves invaluable for project managers overseeing multiple tasks.

And there you go! You have everything you need to know about time tracking in monday.com! If you are interested into other amazing time tracking tools such as this you can always try Tackle!
Wrapping it up!
Discover the simplicity of Monday time tracking to elevate your efficiency. Learn how to seamlessly add the Time Tracking Column and optimize task management when it comes to monday.com time tracking. Whether you’re a project manager or freelancer, unlock the benefits and make Monday.com time tracking work for you. Read on to supercharge your productivity! ⏰
Frequently Asked Questions
Does Monday.com have time tracking?
Absolutely! Monday.com features robust time tracking through its Time Tracking Column, offering seamless monitoring for enhanced productivity.
How to track time in Monday.com?
Adding the Time Tracking Column is easy. Click on the + icon, select “More columns,” and choose “Time Tracking” to start, pause timers, or manually input time ranges.
How do you add time on Monday?
Use the Time Tracking Column. Start and pause timers, or manually input time ranges for accurate tracking and a detailed time log.
Does Monday do timesheets?
Yes, Monday.com supports timesheet functionalities. Easily export the Time Tracking Column data to Excel for comprehensive reporting on item names, user details, and time totals.
What is the best time tracking?
For flexibility and user-friendliness, Monday.com‘s Time Tracking Column is a top choice. It seamlessly integrates into workflows, making it an ideal solution for efficient time management.
